I tried installing using the GUI. But I ended up with no luck.
If you use auto partitioning, this results in LVM instead of BTRFS for the root partition. In the result rockstor complains about the root partition not being BTRFS and does not work.
So I tried to partition the disk by hand and using BTRFS instread of LVM. But also no luck.
After installation completed, rockstor complained about a not parsable string 17.5
I realized that 17.5 was exakt the size of my root partition.
So I tried to make the size an integer value of gigabytes. In ths case 17 GB. This worked. After installation rockstor did not complain about this and worked so far.
But after adding my data disks, it complained again about a non parsable value of 2.74 (or something like this). And this was the exact size of my data disks in TB.
So, after all, I ended up in an not usable installation. This was the point, where I temporarely passend thru my SATA controller to the VM with one hard drive connected. This leads to an existing /dev/sda. The normal installation works and I installed to /dev/xvda. After installation the passed thru controller can be removed and rockstor is up and running.
Yes I had no luck with GUI (via VNC) either. Trying text install instead.
The problem is caused by the kickstart file on the root of the Rockstor ISO: ks.conf. Line 13 (unlucky for some) is:
ignoredisk --only-use=sda
I’ve tried commenting this out or replacing with xvda, and then saving into the ISO (using WinISO), but then the installer says:
dracut-initqueue[585]: Warning: failed to fetch kickstart from hd:LABEL=Rockstor\x203\x20x86_64:/ks.cfg
and eventually boots to a command prompt (no web UI). I’m guessing that my changing the ISO has broken some checksum, so it no longer sees this as a valid ISO image, and “fails to fetch”.
I’ve just used the text installer instead of VNC, and it seems to have completed the install okay, and I’m now in the webui. I’m concerned that I’m missing something crucial in the kickstart file that wasn’t loaded. This is below for reference. Is there any way to post-instate these kickstart options? Eg "services --enabled=“chronyd”? I have prefixed the commented lines with a ’ because hashes are made into titles in this forum editor:
‘#version=RHEL7
’# System authorization information
auth --enableshadow --passalgo=sha512
‘# Use CDROM installation media
cdrom
’#text
’# Run the Setup Agent on first boot
’#this may not be necessary. look at rockstor vm’s anaconda and decide.
firstboot --enable
‘# probably not necessary. this can be upto the user to decide.
ignoredisk --only-use=sda
’# Keyboard layouts
keyboard --vckeymap=us --xlayouts=‘us’
'# System language
lang en_US.UTF-8
‘# Network information
’# probably not necessary. users can configure interactively. Or should we leave dhcp as the default?
network --bootproto=dhcp --onboot=yes --hostname=Rockstor
‘# Root password
’#rootpw --iscrypted $6$F3v.RAjU…pGqpAf$ItkRJpJdKjZExy0rMG/ZDotQdAn65LO59iG/CPF/ql9MFHiMl1RzUW0aQXRHO94IgdBMBUrJ7mzJBv2rx1zPY1
’# System services
services --enabled=“chronyd”
’# System timezone
’#timezone America/Los_Angeles --isUtc
’# X Window System configuration information
xconfig --startxonboot
’# System bootloader configuration
bootloader --location=mbr --boot-drive=sda
autopart --type=btrfs
’# Partition clearing information
clearpart --none --initlabel
No it will not, unfortunately. We should probably create a short installation video for this scenario. You’ll need to (1) choose BTRFS for the partitioning layout (2) Select Rockstor environment in the package selection (3) make sure network connection is up.
Sure, I’ve created this issue with your request. I am not fully sure how that impacts normal installations. I will test it out next time we update the ISO file.
no special command. I used the graphical installer and there the manual partitioning.For the root partition I typed in 17 G in the create partition dialog.
Just a note that might help here. To reproduce what the ‘appliance’ auto install options do partition wise there is a picture of them in the docs inside the Reinstalling Rockstor howto.
And from parted we have:-
(parted) print
Model: ATA TS32GMSA370 (scsi)
Disk /dev/sdc: 32.0GB
Sector size (logical/physical): 512B/512B
Partition Table: msdos
Disk Flags:

Number  Start   End     Size    Type     File system     Flags
 1      1049kB  525MB   524MB   primary  ext4            boot
 2      525MB   3728MB  3202MB  primary  linux-swap(v1)
 3      3728MB  32.0GB  28.3GB  primary  btrfs
Might be relevant to those doing advanced DIY partitioning, either out of necessity or curiosity.
My understanding is that the rockstor_rockstor pool name is important but I think there are plans to alter this requirement.
Just to update the situation on installing Rockstor as a XenServer VM. “ignoredisk --only-use=sda” is still in ks.cfg on the latest ISO, and perhaps this won’t be changed. While removing would ease installing on XenServer, some might say it’s not worth the cost of giving users a list of disks from which to choose where to install Rockstor, which might confuse.
Perhaps better to find a workaround for installing Rockstor in Xen. Removing ks.cfg from boot options won’t work because both the GUI & text installer won’t continue without something in the Software Selection section. Hence continuing down the path of installing with ks.cfg specified, I’ve got past the “Specified nonexistent disk sda in ignoredisk command” error by:
Changing the following lines in ks.cfg:
ignoredisk --only-use=xvda
bootloader --location=mbr --boot-drive=xvda
Saving the new ks.cfg to the ISO using ISO editor software,
Booting off the ISO, choosing Troubleshooting, pressing tab key on the Install Rockstor in Basic Graphics Mode and changing boot options to:
vmlinuz initrd=initrd.img inst.stage2=cdrom xdriver=vesa nomodeset quiet ip=dhcp ks=cdrom:/ks.cfg
Choosing option 1. VNC.
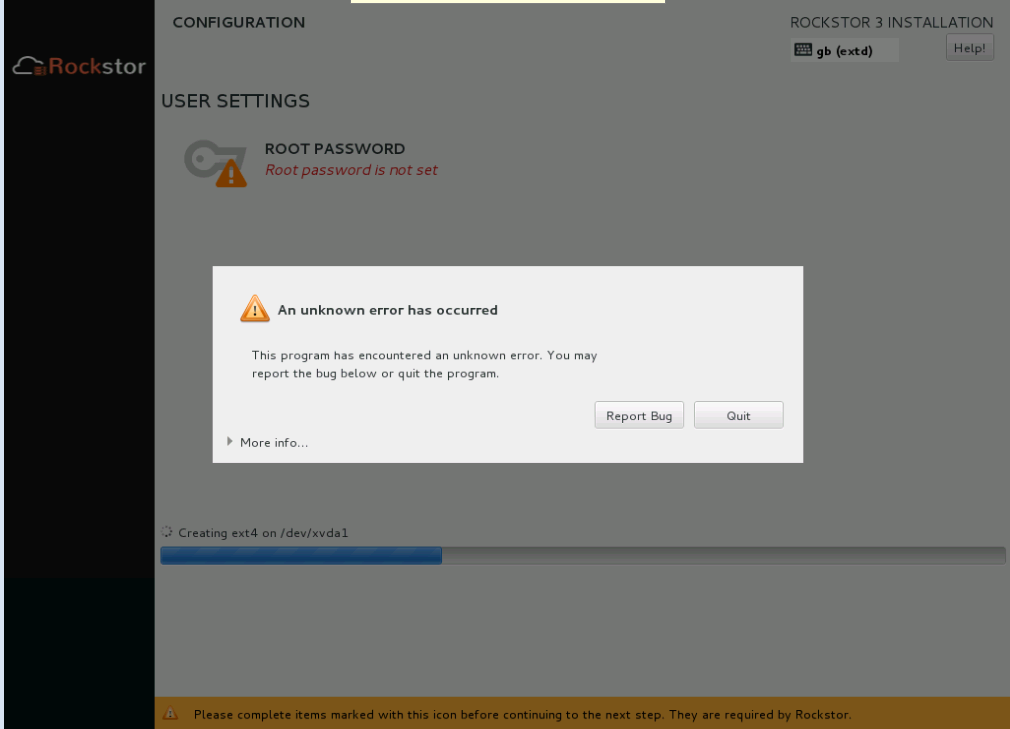
I then run through the GUI install wizard as normal, but the progress bar gets about a third of the way and fails:
Are you sure about this? I just tried. You can click on software selection and you’ll see Rockstor listed under base environment. In fact, that’s the only one listed. Can you try again using vanilla Rockstor-3.8-9.02 ISO?
Yes installed this time Software Selection was populated. Perhaps I had wrongly put “cdrom” in the boot string. To expand phillxnet’s guidance about disk partitioning. It should be:
File System: swap
Name: xvda2
Volume: NA
Size: 2048mb
Path: /home
File System: btrfs
Name: home
Volume: rockstor_rockstor
Size: remaining (17gb in my case as I had a 20GB disk)
Name: root
Path: /
File System: btrfs
Volume: rockstor_rockstor
Size: remaining (17gb in my case as I had a 20GB disk)
So to summarise installing in a Xen VM:
Boot off the vanilla, original Rockstor ISO.
Choose Troubleshooting, press tab key on Install Rockstor in Basic Graphics Mode and change boot string to: vmlinuz initrd=initrd.img inst.stage2=hd:LABEL=Rockstor\x203\x20x86_64 xdriver=vesa nomodeset quiet ip=dhcp
in other words, simply remove this from the end of the string: ks=hd:LABEL=Rockstor\x203\x20x86_64:/ks.cfg
Either choose VNC or Text interface when prompted. Fill in the options as required, changing the disk partitioning as above.
I think this is a simple enough workaround to warrant closing this issue about removing references to sda from ks.cfg.
Sorry to resurrect this old thread. I am preparing to install Rockstor on two XenServer 7 machines. Could you share the commands you used to passthrough your sas card? I have to passthrough 5 sas cards to rockstor on one machine and am having difficulties with my attempts.
Here is a posting in another forum, how to passthrough a TV card in XenServer. The procedure should be the same with a disc controller.
Sorry, it is in german. Posting number 6 decribes how the passthough works.
In short:
For the device the native driver (ahci for SATA controllers) should not be loaded. Instead the pciback module must be loaded. After this the device can be passed through to the VM via XAPI commands (described under the link above).
Hi there, great product but I’m also trying to run it on Xenserver 7.2 and I hit the inability for Xenserver to report the disk serial numbers. Any ideas? Thanks!
Don’t know if you are still tying to deploy on XenServer. I have not found a solution to the missing serial numbers in a XenServer 7 environment for virtual disks, but have found a very effective deployment using pci passthrough of a storage controller. Details are in the XenServer 7 Backstory. If you did ever find a solution and/or workaround for serial numbers for virtual disks, please pass it along.
 Software Selection was populated. Perhaps I had wrongly put “cdrom” in the boot string. To expand phillxnet’s guidance about disk partitioning. It should be: