CHEAPSTOR
I decided to use rockstor on my old hotspot system.
It was used in an art association as radius eap, print and file server, and as simple iptables firewall. Each network segment was additionally secured by an intrusion detection system and managed switches. 4 Buildings with 5 offices 4 seminar rooms, but the area i had to cover doubled, 15000 squaremeters wanted to be covered by a wireless distribution system. A new system was needed to be constructed tested and installed. So i got my mainboard back earlier than expected, which is now my base system to get in touch with ROCKSTOR.
- Gigabyte J1900N-D3V --> http://www.gigabyte.de/Motherboard/GA-J1900N-D3V-rev-1x#ov
- 4GB RAM -
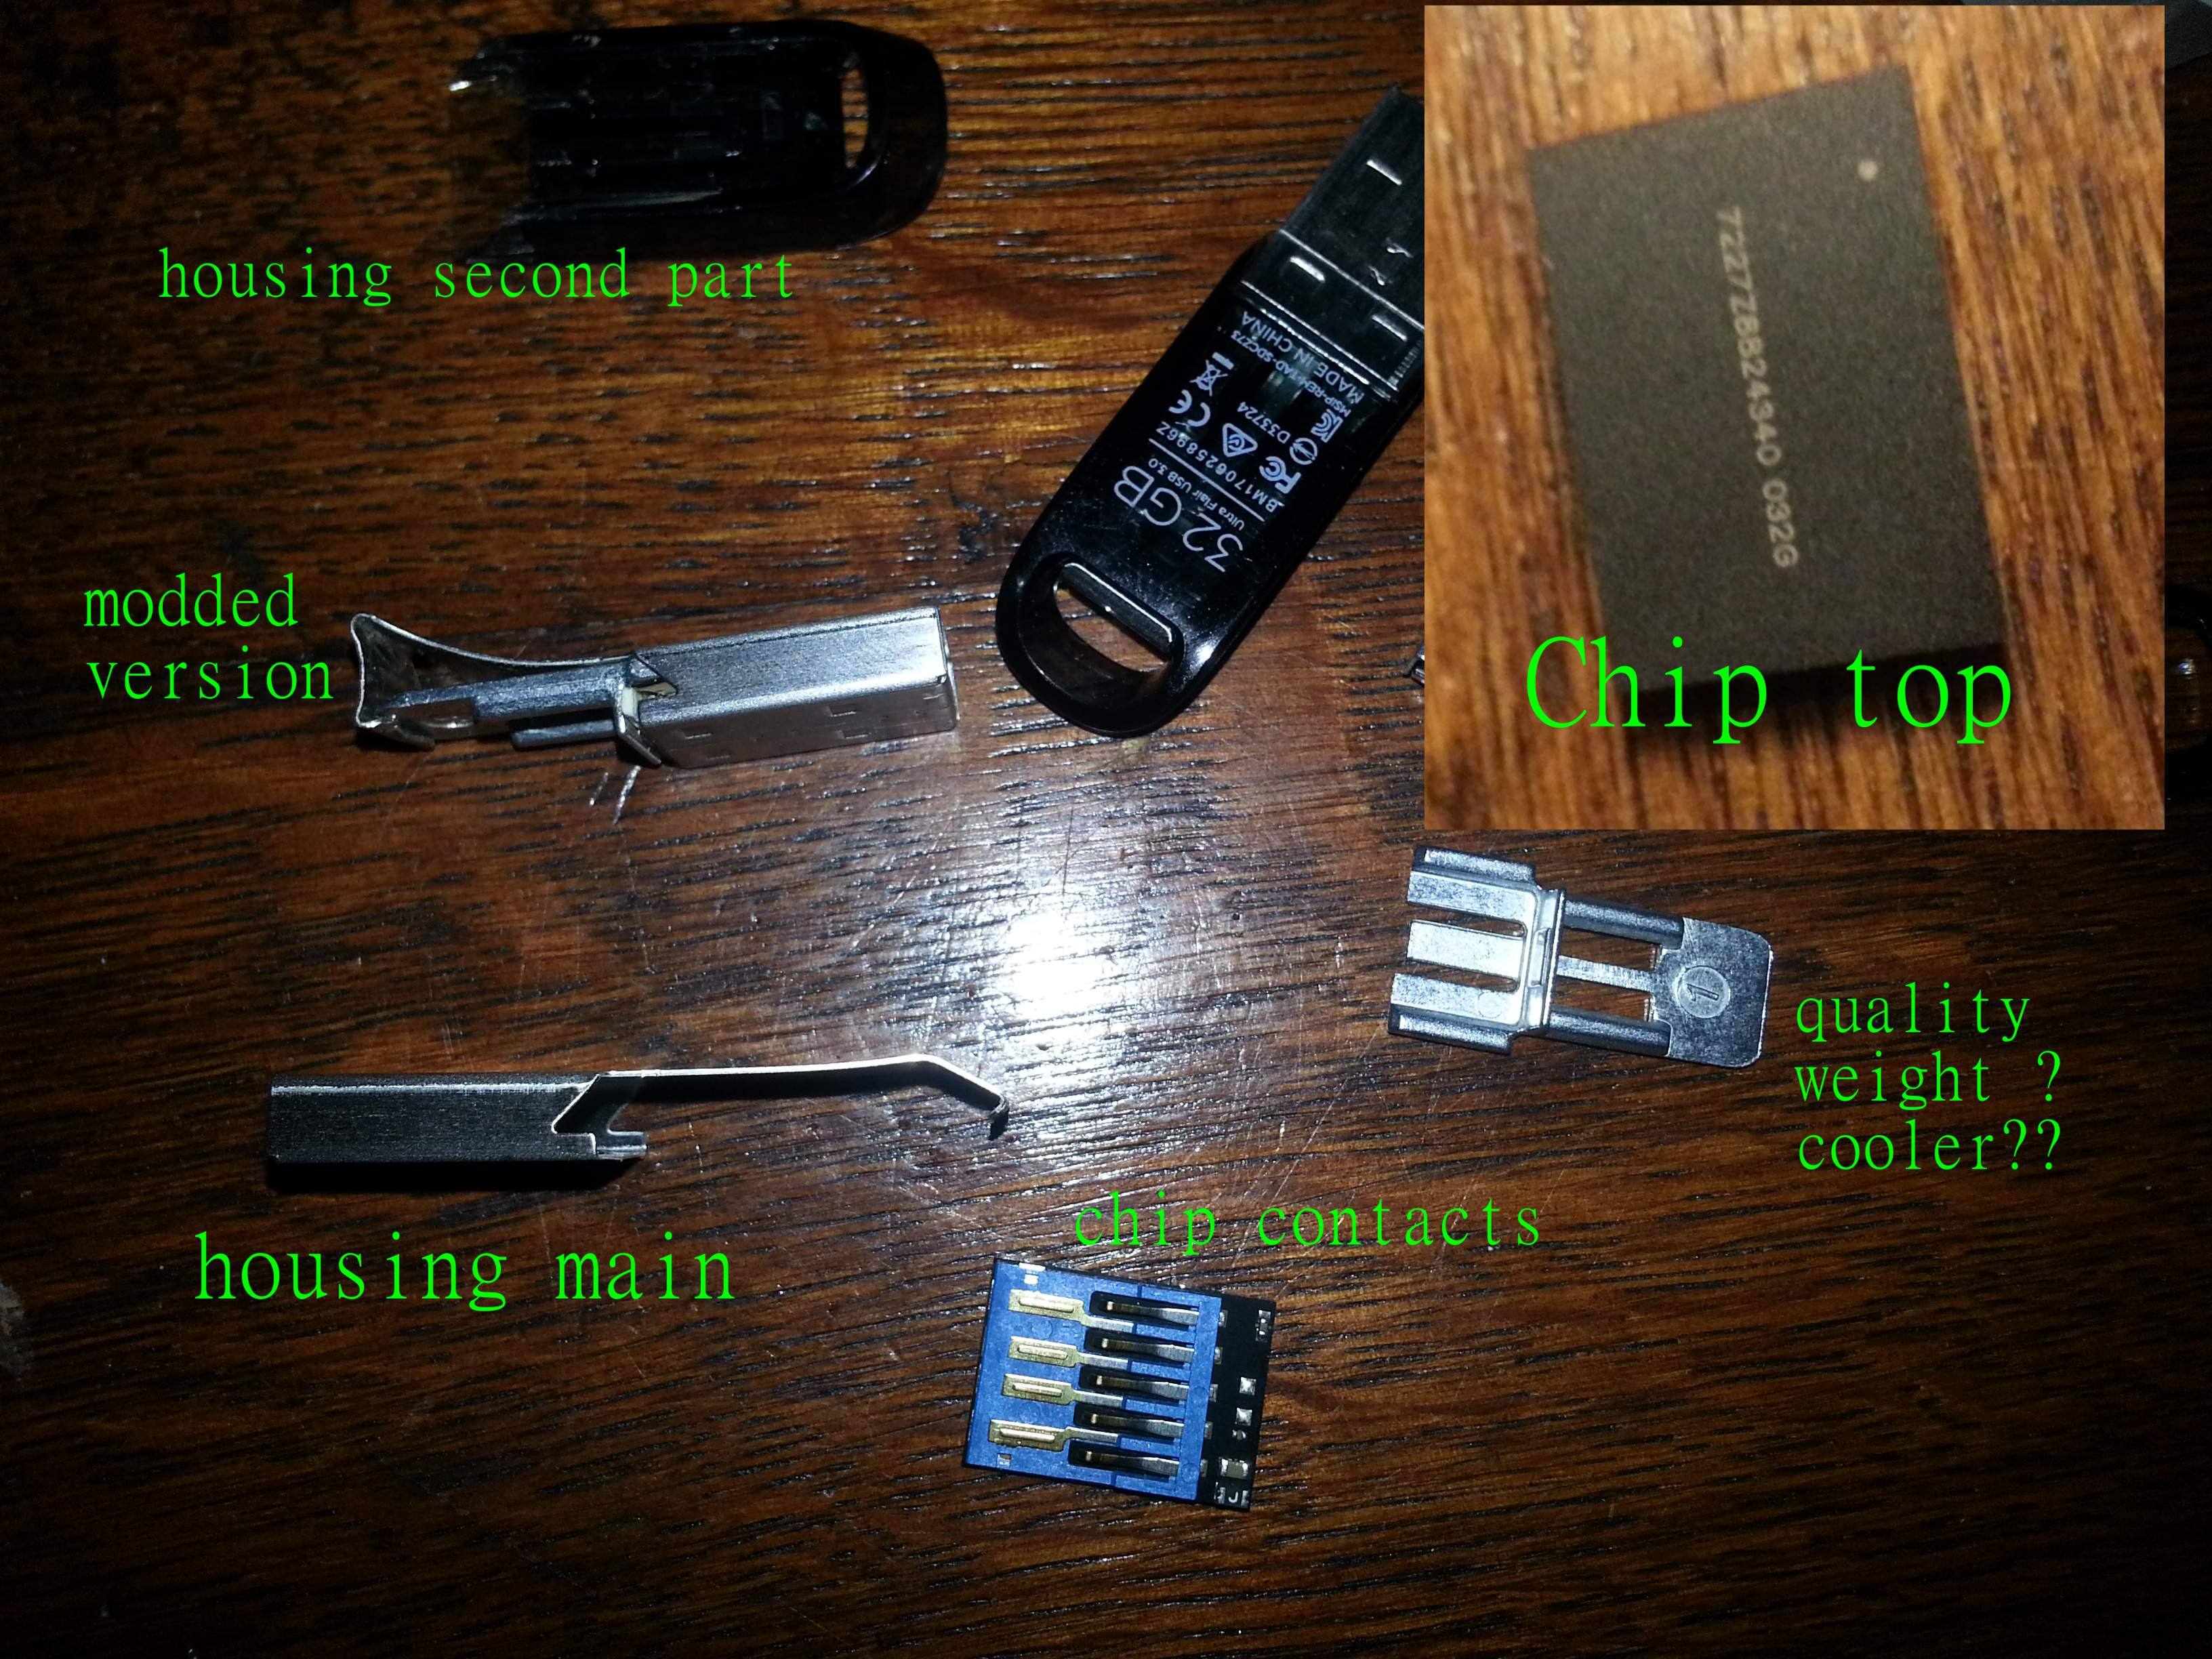
SAMSUNG M471B5273CH0-CH9 10600S 2Rx8 - SandDisk UltraFlair 32GBs USB 3.0 ROOTFS (GPT EFIBOOT)
SDCZ73-032G-G46 - 2x2TB RAID1 (1.8TB real)
Seagate SV35 2TB (24/7) - 3x SandDisk UltraFlair 32GBs USB 3.0 Flash as Raid5
SDCZ73-032G-G46 - 2xPicoPSU-90
Always update bios to the latest version.
The mainboard has no usb 2.0 ports so we need to boot with usb 3.0!
The installation is not that easy to accomplish.
Remember anaconda, which is the installer of centos!
Boot
To boot from uefi which is recommended(by me) you need to go into to the boot menu
by pressing F12 and start the UEFI shell.
I dont like to mess around with changing the USB ports to hopefully get the UEFI
locate the bootloader. So we easily will change to the USB sticks root by writing
fs0: in the shell cd EFI cd centos grubx64.efi and
voila the grub bootloader should give you two choices.
We do not need the rescuesystem yet so you should test the install media and start the installer.
When system is booted we will be in the ugly and slow running centos installer,
So i recommend to start the installer in text mod by editing the boot options:
In grub bootloader press TAB and write inst.text between the bootoptions.
Install Rockstor as recommended in the Rockstor instalöl instructions!
The bootloader install will fail, apparently because we boot from USB3.0!
Press yes so that the installation will succeed without the
bootloader to be installed correctly.
installing bootloader
Then change to a shell by pressing STRG+F2 !
You have to configure the efibootmgr!
- Chroot into your new system with
chroot /mnt/sysimage - If /boot/efi/EFI/centos/grubx64efi exists
ls -lh /boot/efi/EFI/centos/grubx64.efi - then configure UEFI with
efibootmgr -c -v -L "Rockstor" -d /dev/sdc -p1 -l "/boot/efi/EFI/centos/grubx64.efi" - use
efibootmgr -bx-Bto remove the wrong Rockstor entry where x is the number of the boot entry 1 for 0001 - now we need to write the
grub.cfgconfiguration file to/boot/efi/EFI/centos/grub.cfgwe do that by issuinggrub2-mkconfig -o /boot/efi/EFI/grub.cfg
Now we can switch back to the installer and finish the installation process -
restart and the system should be ready.
###About the system
My DiskDrives are at 30 to 47 degrees
Celsius without a fan so the only noise is coming from them. I recommend to use a usb 3.0 hub,
i didnt have a unused one here to test it but the usbsticks i am using are very hot so cooling is
important i will put them into the airstream with my diskdrives.
#Update
###StableBoot
Like mentioned in another build example here in the forum, booting from usb3.0 is not well supported on these boards and i am encountering the same faults. The USB stick is not found sometimes. Its to expensive to build a good bios when the mainboard itself is about 60-90 euro with cpu. So we have to get along with that by using a second usbstick which is usb2.0 and serves as the bootpartition stick! I choosed what was left somewhere in my bag for along time. A Kingston micro with 8GB. So i partitioned it with parted with a esp (efi system partition), a boot partition and a sysbackup called one to backup my system partition every 7 days.
####The partition tables looks like:
[root@nas ~]# parted /dev/sdd
GNU Parted 3.1
Verwende /dev/sdd
(parted) print
Modell: Kingston DT Micro (scsi)
Festplatte  /dev/sdd:  7862MB
Sektorgröße (logisch/physisch): 512B/512B
Partitionstabelle: gpt
Disk Flags:

Nummer  Anfang  Ende    Größe   Dateisystem  Name       Flags
 1      1049kB  537MB   536MB   fat32        ESP        boot
 2      537MB   2684MB  2147MB  ext4         boot
 3      2814MB  7862MB  5048MB  btrfs        sysbackup
After formating the partitions we need to mount them in a newly created mountpoint i used a new directory called /manualmount !
Then we have to mount the boot partition first! I simply copied all files in /boot/* to the mounted fs and removed the /boot/efi/EFI directory to be able to mount cleanly the ESP partition to /boot/efi afterwards. We now need to change the UUID values in /etc/fstab! Use the command blkid to get all the uuids of your partitions! Make a backup of your fstab and change the values of your boot and efi partition!
Now we simply need to write a new grub config and we are ready to go!
After mounting according to the new fstab(mount -a):
grub2-mkconfig -o /boot7efi/EFI/centos/grub.cfg
I think it is wise to clean your efiboot entry we wrote with efibootmgr earlier because we dont need it anymore! Here we see the reason why we didnt see the efiboot corrected by the maintainers.
They dont need to as long as the mainboards are booting with the bootx64.efi
file what happens when booting from usb2.0.
I dont like to have wrong entries in my uefi so we delete them like mentioned above!
Till now (2 days) this is booting stable!
I will edit this for recent updates and speed test when the system is running stable!
I will edit this for typos and readability.
GL HF eliasmagnush alias morn
 .
.