I sent in a support email about this exact issue over 2 years ago and got it solved, but for the life of me I cannot find the reply that helped me solve the issue.
Having a vague idea of what I did to solve it, I have decided to mess with it until I figure it out and document the steps.
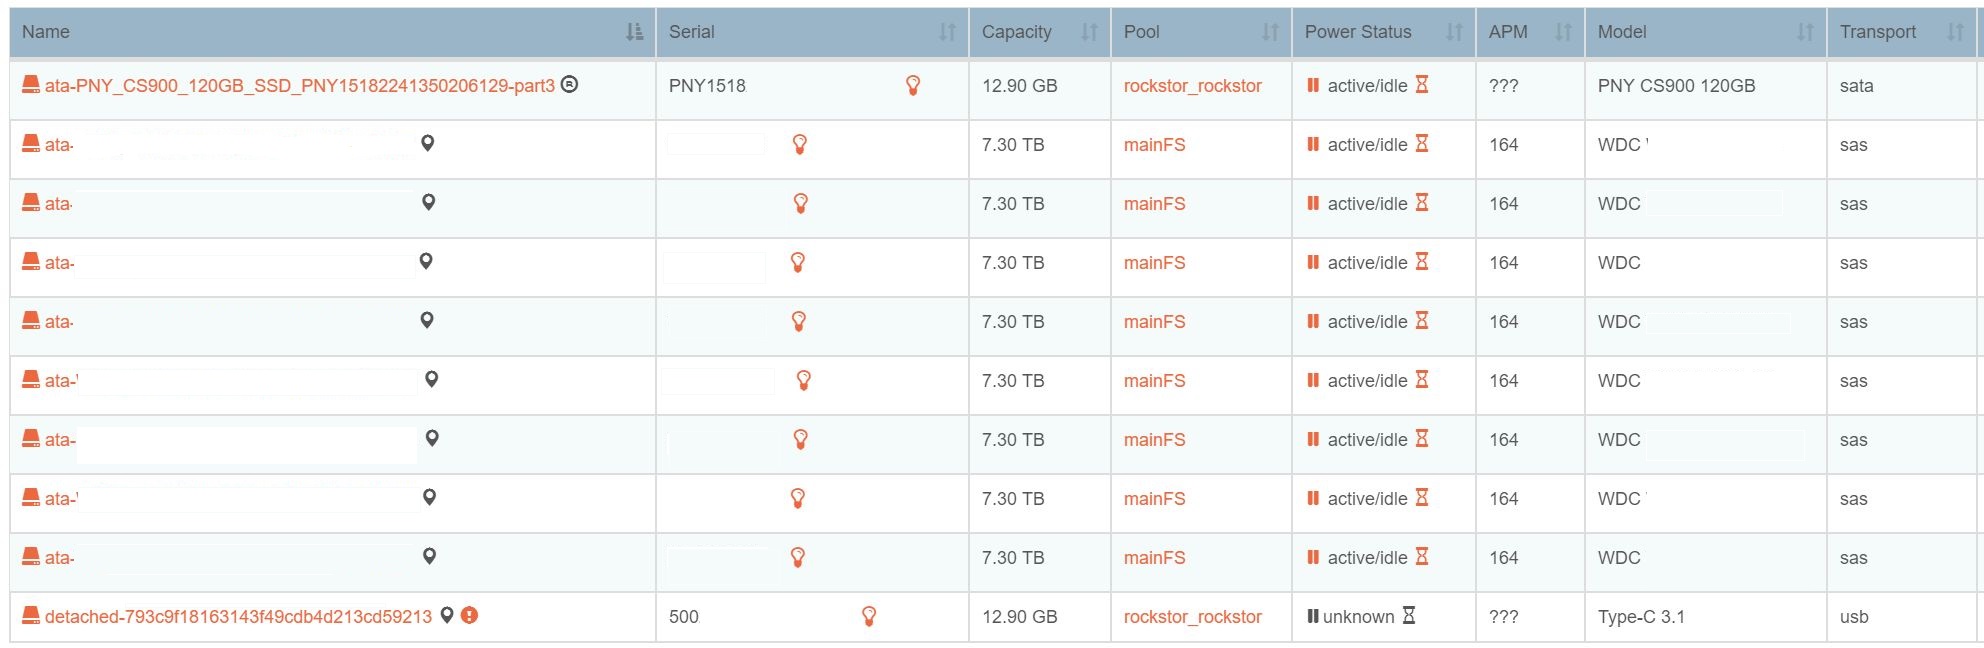
The issue at hand is that I have cloned the original Rockstor install, which was on a USB, to a new SSD. This resulted in having a ghost drive in the Rockstor disk listing that I cannot remove. You can see the “detached” disk in the below image.
To solve this, it involved removing the DB entry for the disk from the Rockstor PostgreSQL database.
WARNING
1) This involves editing a database you were never meant to manually change.
2) The commands I used are for reference only. DO NOT COPY COMMANDS WITHOUT MAKING THE NECESSARY CHANGES TO ID VALUES. The ID values used in all commands are set for MY system and will not translate to your system. If you run them "as is" you WILL BREAK your system.
3) This guide requires a basic understanding of SQL in regard to referenced values, but with a basic understanding of coding/command-line you should be able to follow this.
This guide is still quite rough as I was documenting as I solved the problem. I am working to clean it up but keep this in mind.
With that out of the way...
First,
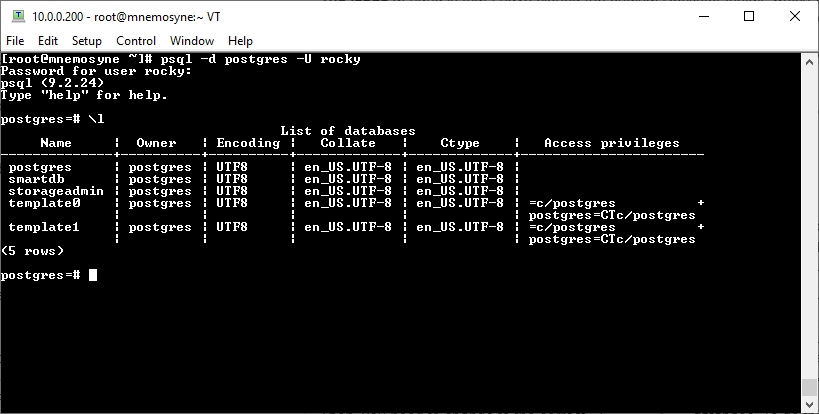
You must gain access to the Rockstor PostgreSQL database by using the command:
psql -d postgres -U rocky
and entering the password “rocky”.
This will give you access to the database.
Next,
Once you are in you can type \l to get a listing of all databases available. You should see this.
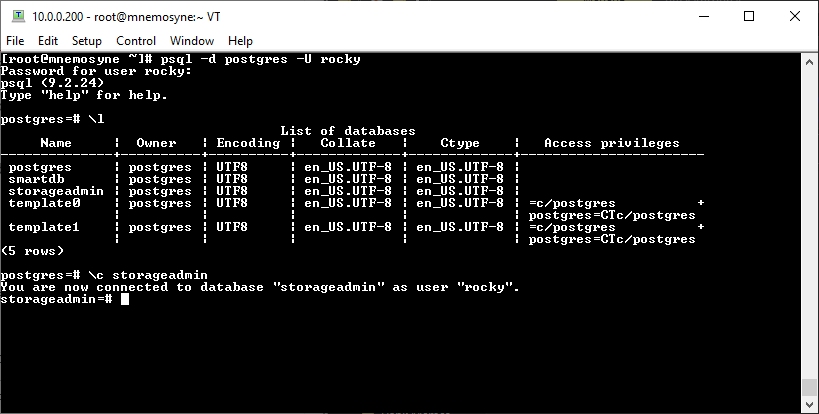
Then, you need to change to the correct storageadmin database. To do this run the following command: \c storageadmin
Now you can print a listing of all tables available in the storageadmin table using the \dt command.
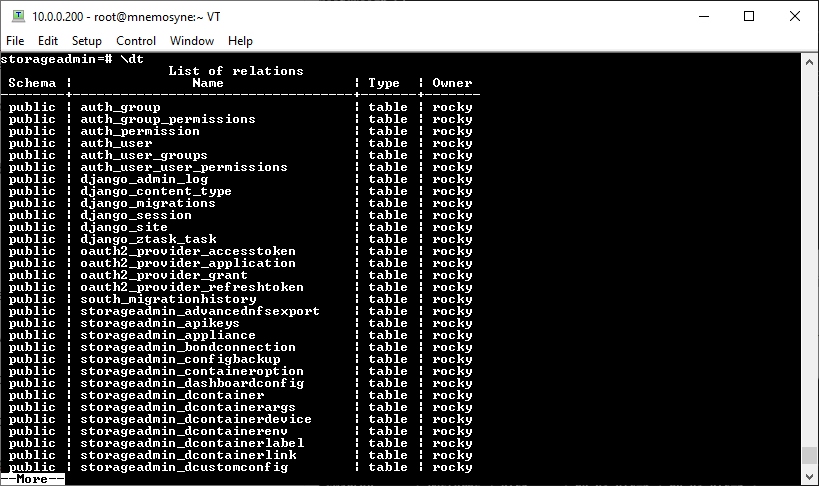
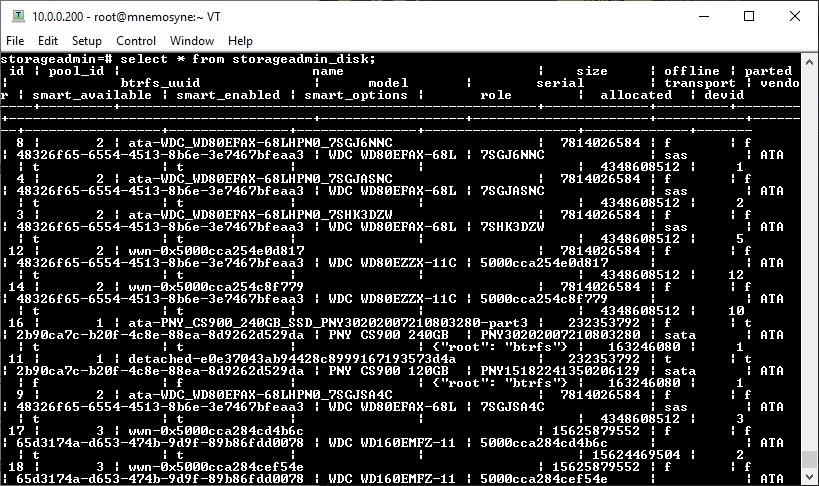
The table we want to work with is the storageadmin_disk table. We can print all the information in this table by using the command select * from storageadmin_disk;
Unless your terminal is wide enough this output will be very messy looking and hard to read.
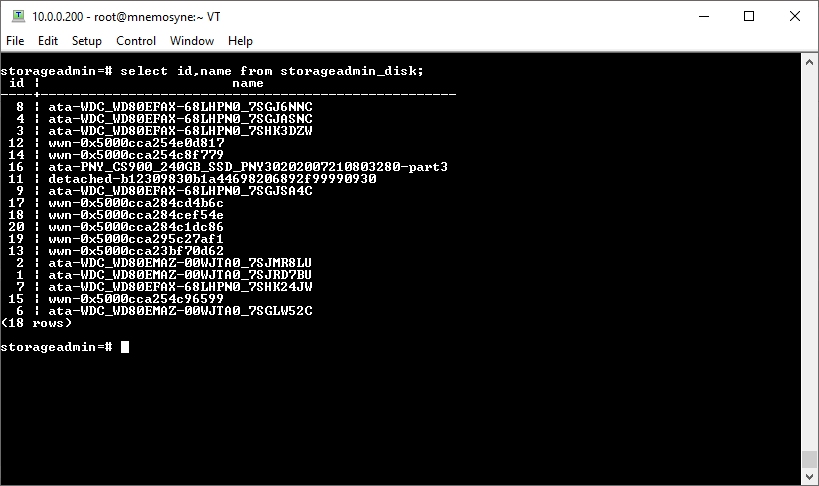
Alternately, you can run select id,name from storageadmin_disk; which will give only the id of the entry and the name of the disks.
Unfortunately, we cannot simply delete this entry as there are entries in other tables that rely on it that we need to remove first. If you attempt this at this point you will get the following.
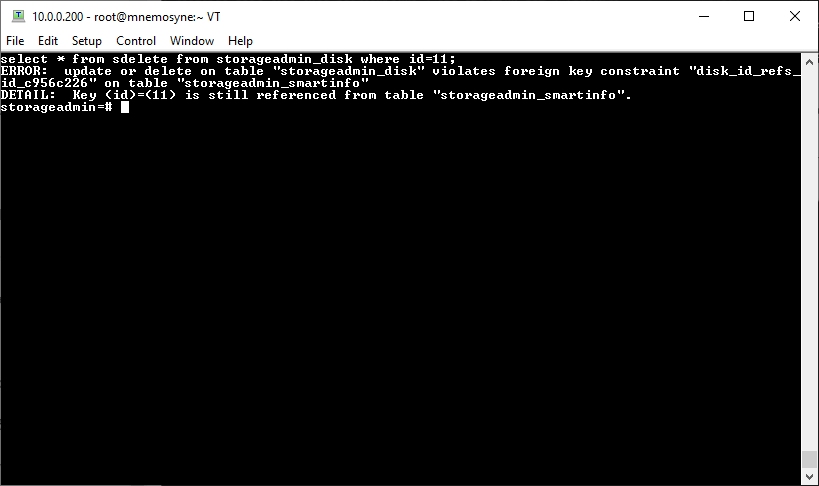
To resolve this, we will need to first delete the corresponding entry for this disk in the storageadmin_smartinfo table.
We can print this table using select * from storageadmin_smartinfo; which should give something similar to the following.
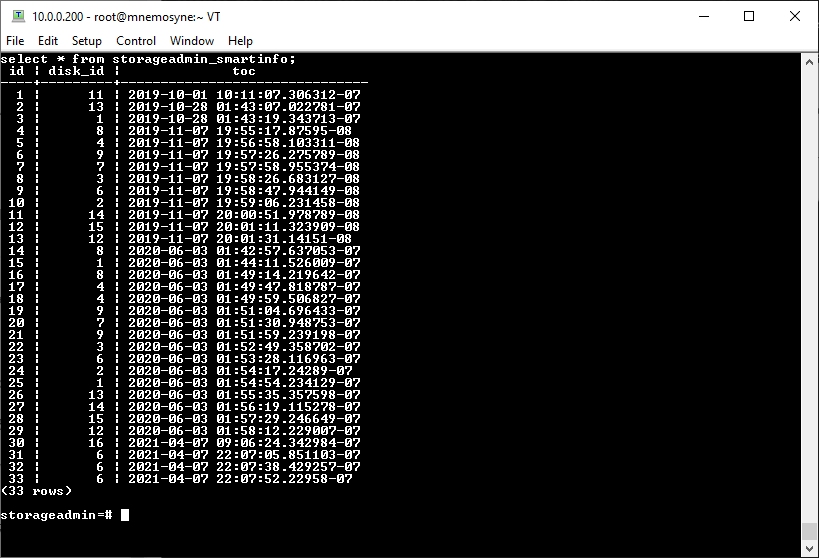
We can see here that there is a disk_id column that corresponds with the id of the disks in the storageadmin_disk table. You can also see a new id column.
I hope you’re keeping track because if you attempt to delete this entry you will see the following.
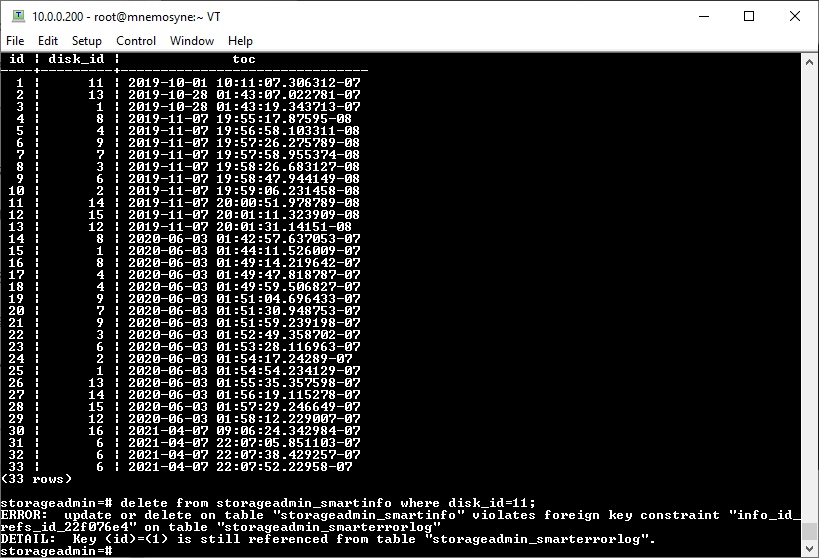
This is telling us that we still need to delete the entry for this disk in the storageadmin_smarterrorlog table. In the storageadmin_smarterrorlog table we can see two id values. The id value of storageadmin_smartinfo is now the info_id column of the storageadmin_smarterrorlog.

This entry we are able to delete as it does not rely on another entry further down the chain. To do so we will us the command delete from storageadmin_smarterrorlog where info_id=1;.
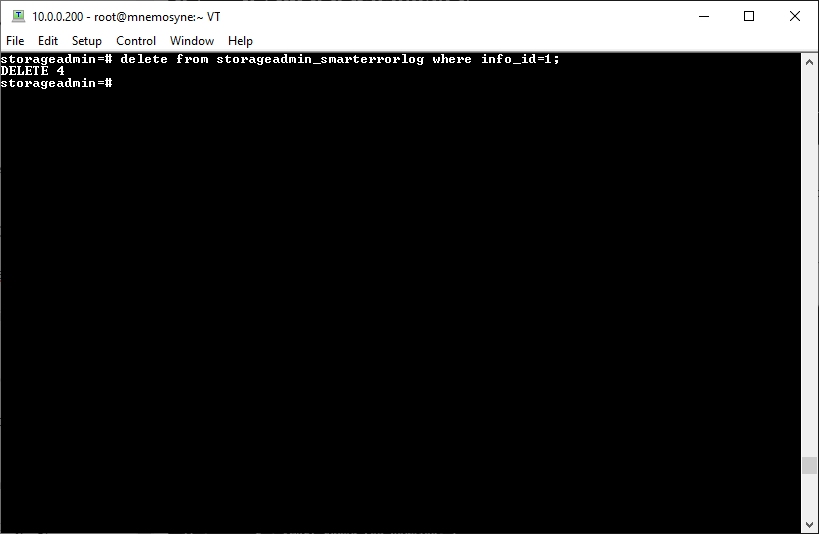
Unfortunately, this does not unlock the storageadmin_smartinfo entry as there is still another entry locking it in the storageadmin_smartidentity table.
This table is also very messy to look at normally, so we can view it using select id,info_id,device_model,serial_number from storageadmin_smartidentity;
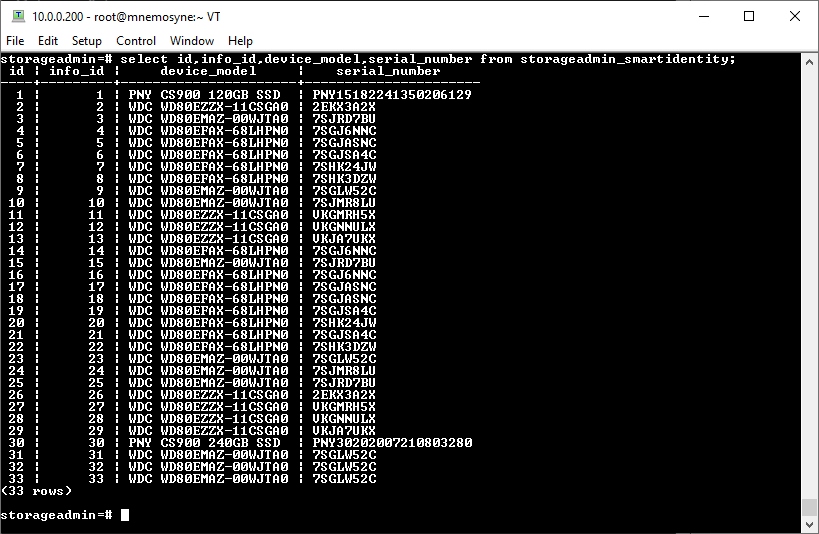
This will then delete this entry using delete from storageadmin_smartidentity where info_id=1;
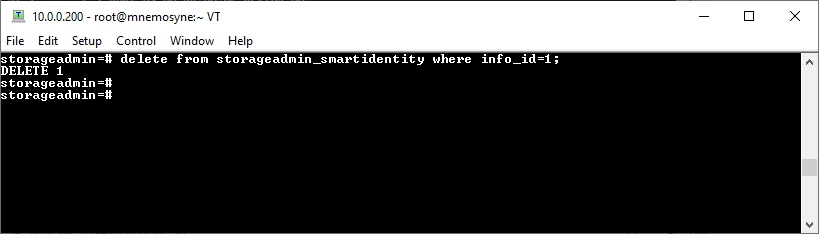
Next, we need to delete the drive entry from the storageadmin_smartcapability table.
Again, we list the table. I suggest select id,info_id from storageadmin_smartcapability;

This entry we will delete with delete from storageadmin_smartcapability where info_id=1;
Next is, storageadmin_smarttestlogdetail. Print this using select * from storageadmin_smarttestlogdetail;
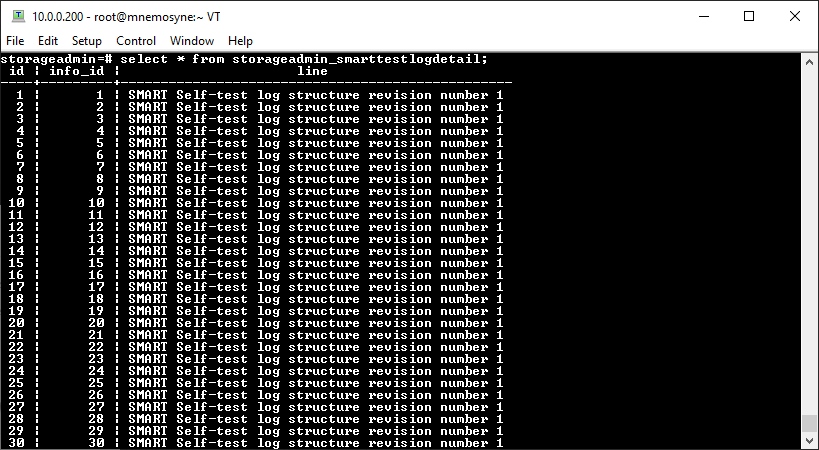
We will delete this with delete from storageadmin_smarttestlogdetail where info_id=1;
Next is, storageadmin_smartattribute. It can be printed using select id,info_id from storageadmin_smartattribute;
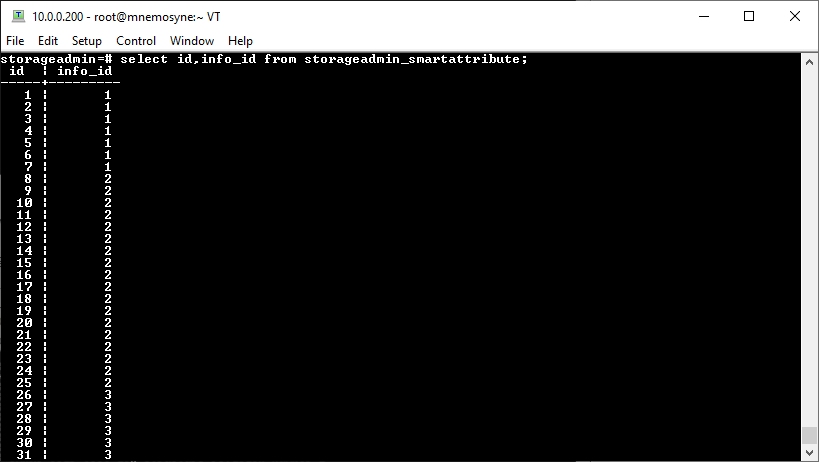
Again, since the info_id for my disk is 1 I can run delete from storageadmin_smartattribute where info_id=1;
FINALLY we can move back up the chain. Remember, we still need to delete:
storageadmin_disk( id = 11 )
storageadmin_smartinfo( id = 1)
The main problem entry was storageadmin_disk( id = 11 ), but we needed to delete every entry that relies on it to exist first.
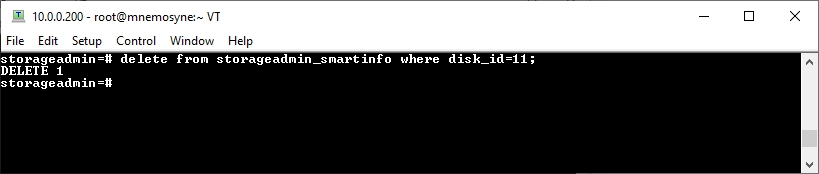
The next step is to delete storageadmin_smartinfo( id=1 ), to do this I used the command delete from storageadmin_smartinfo where disk_id=11;` I did this because my real concern is the disk ID and not the ID of the entry itself.
Now we can FINALLY delete the storageadmin_disk entry. In my case it is id 11, detached-e0e37043ab94428c8999167193573d4a.To do this we can use the command delete from storageadmin_disk where id=11;
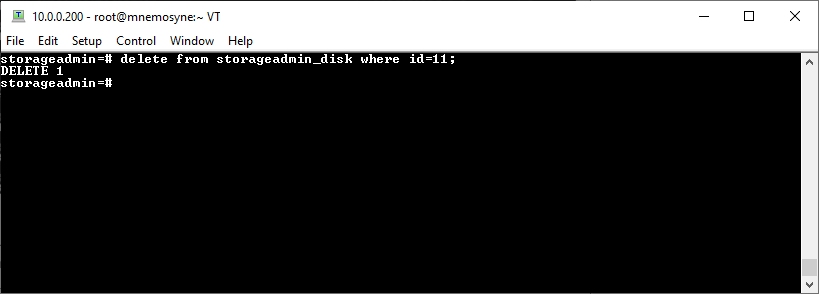
This will look through the table storageadmin_disk for any entry where the column id is equal to the number 11.
If you check in the web interface, you should see that the entry for the disk is now removed. If someone who is better at SQL than me has a more simple solution to remove these eateries using some sort of recursive remove then please add it below, but this is the process I followed.
This is definitely a pain, and I wouldn’t blame anyone for not bothering after seeing all of the required changes. As I mentioned at the start, I have done this before and somehow completely lost the instructions for how to do it/never fully documented them. I figured if I was going to do it again I may as well document it for posterity.
If you have any questions let me know.