(Solved)Importing/Loading files from USB (FAT Structured)

@Mike-B
Re:

Good idea. Once imported, for the experience, you can also delete the pool and re-make a fresh one with the then orphaned drives. Again all good experience to know who these things look at their various stages.

The likely permission issue is that your client (the windows machine) was attempting access via it’s uses which was not a Rockstor user. Plus it didn’t ask for which user you wanted. But a little playing around should help.

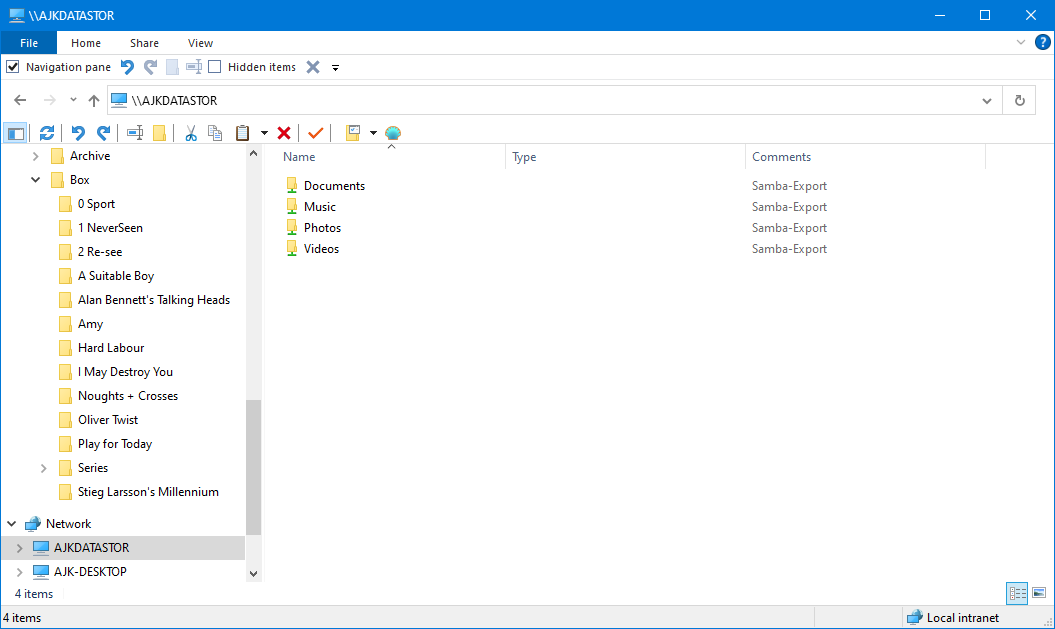
No, and in fact it’s not advised to use any shares in the root pool. Bad practice in fact. Why is because in a situation that you currently find yourself in, a re-do, the “ROOT” pool, read the Operating System (OS) pool, is wiped. Thus loosing all possibility to re-import or migrate it’s data. So avoid creating any shares in the “ROOT” pool. It’s possible but avoid it until you appreciate more of how things are arranged and why.

During you pending re-install, the entire drive hosting ROOT pool will be wiped, so all user created shares will also be gone. The reason it’s good to not create them in the ROOT pool in the first place. It’s also good practice to keep a separation between system and data. If for nothing else it’s easier to understand that way; and as mentioned better for rebuilds.

It can, via btrfs commands at the subvolume level, but given you are about to re-install lets leave that for now. But in short, each Rockstor share is actually a btrfs subvolume, and each Rockstor Pool is a btrfs Volume. But given you pending re-install, which auto wipes the entire disk, all shares on that disk (hosting the ROOT pool) will be returned to the default of ‘home’. But there are actually quite a lot on the system disk that are not displayed. We nearly didn’t expose the ‘home’ except that for our prior v3 users that would have created barriers that we didn’t want to put up. Avoid using the home subvolume also, as per @Flox recent doc updates, it’s a little special and reserved for native users more for local use, it may also have special meaning for some of our Active Directory users. Again not relevant currently.

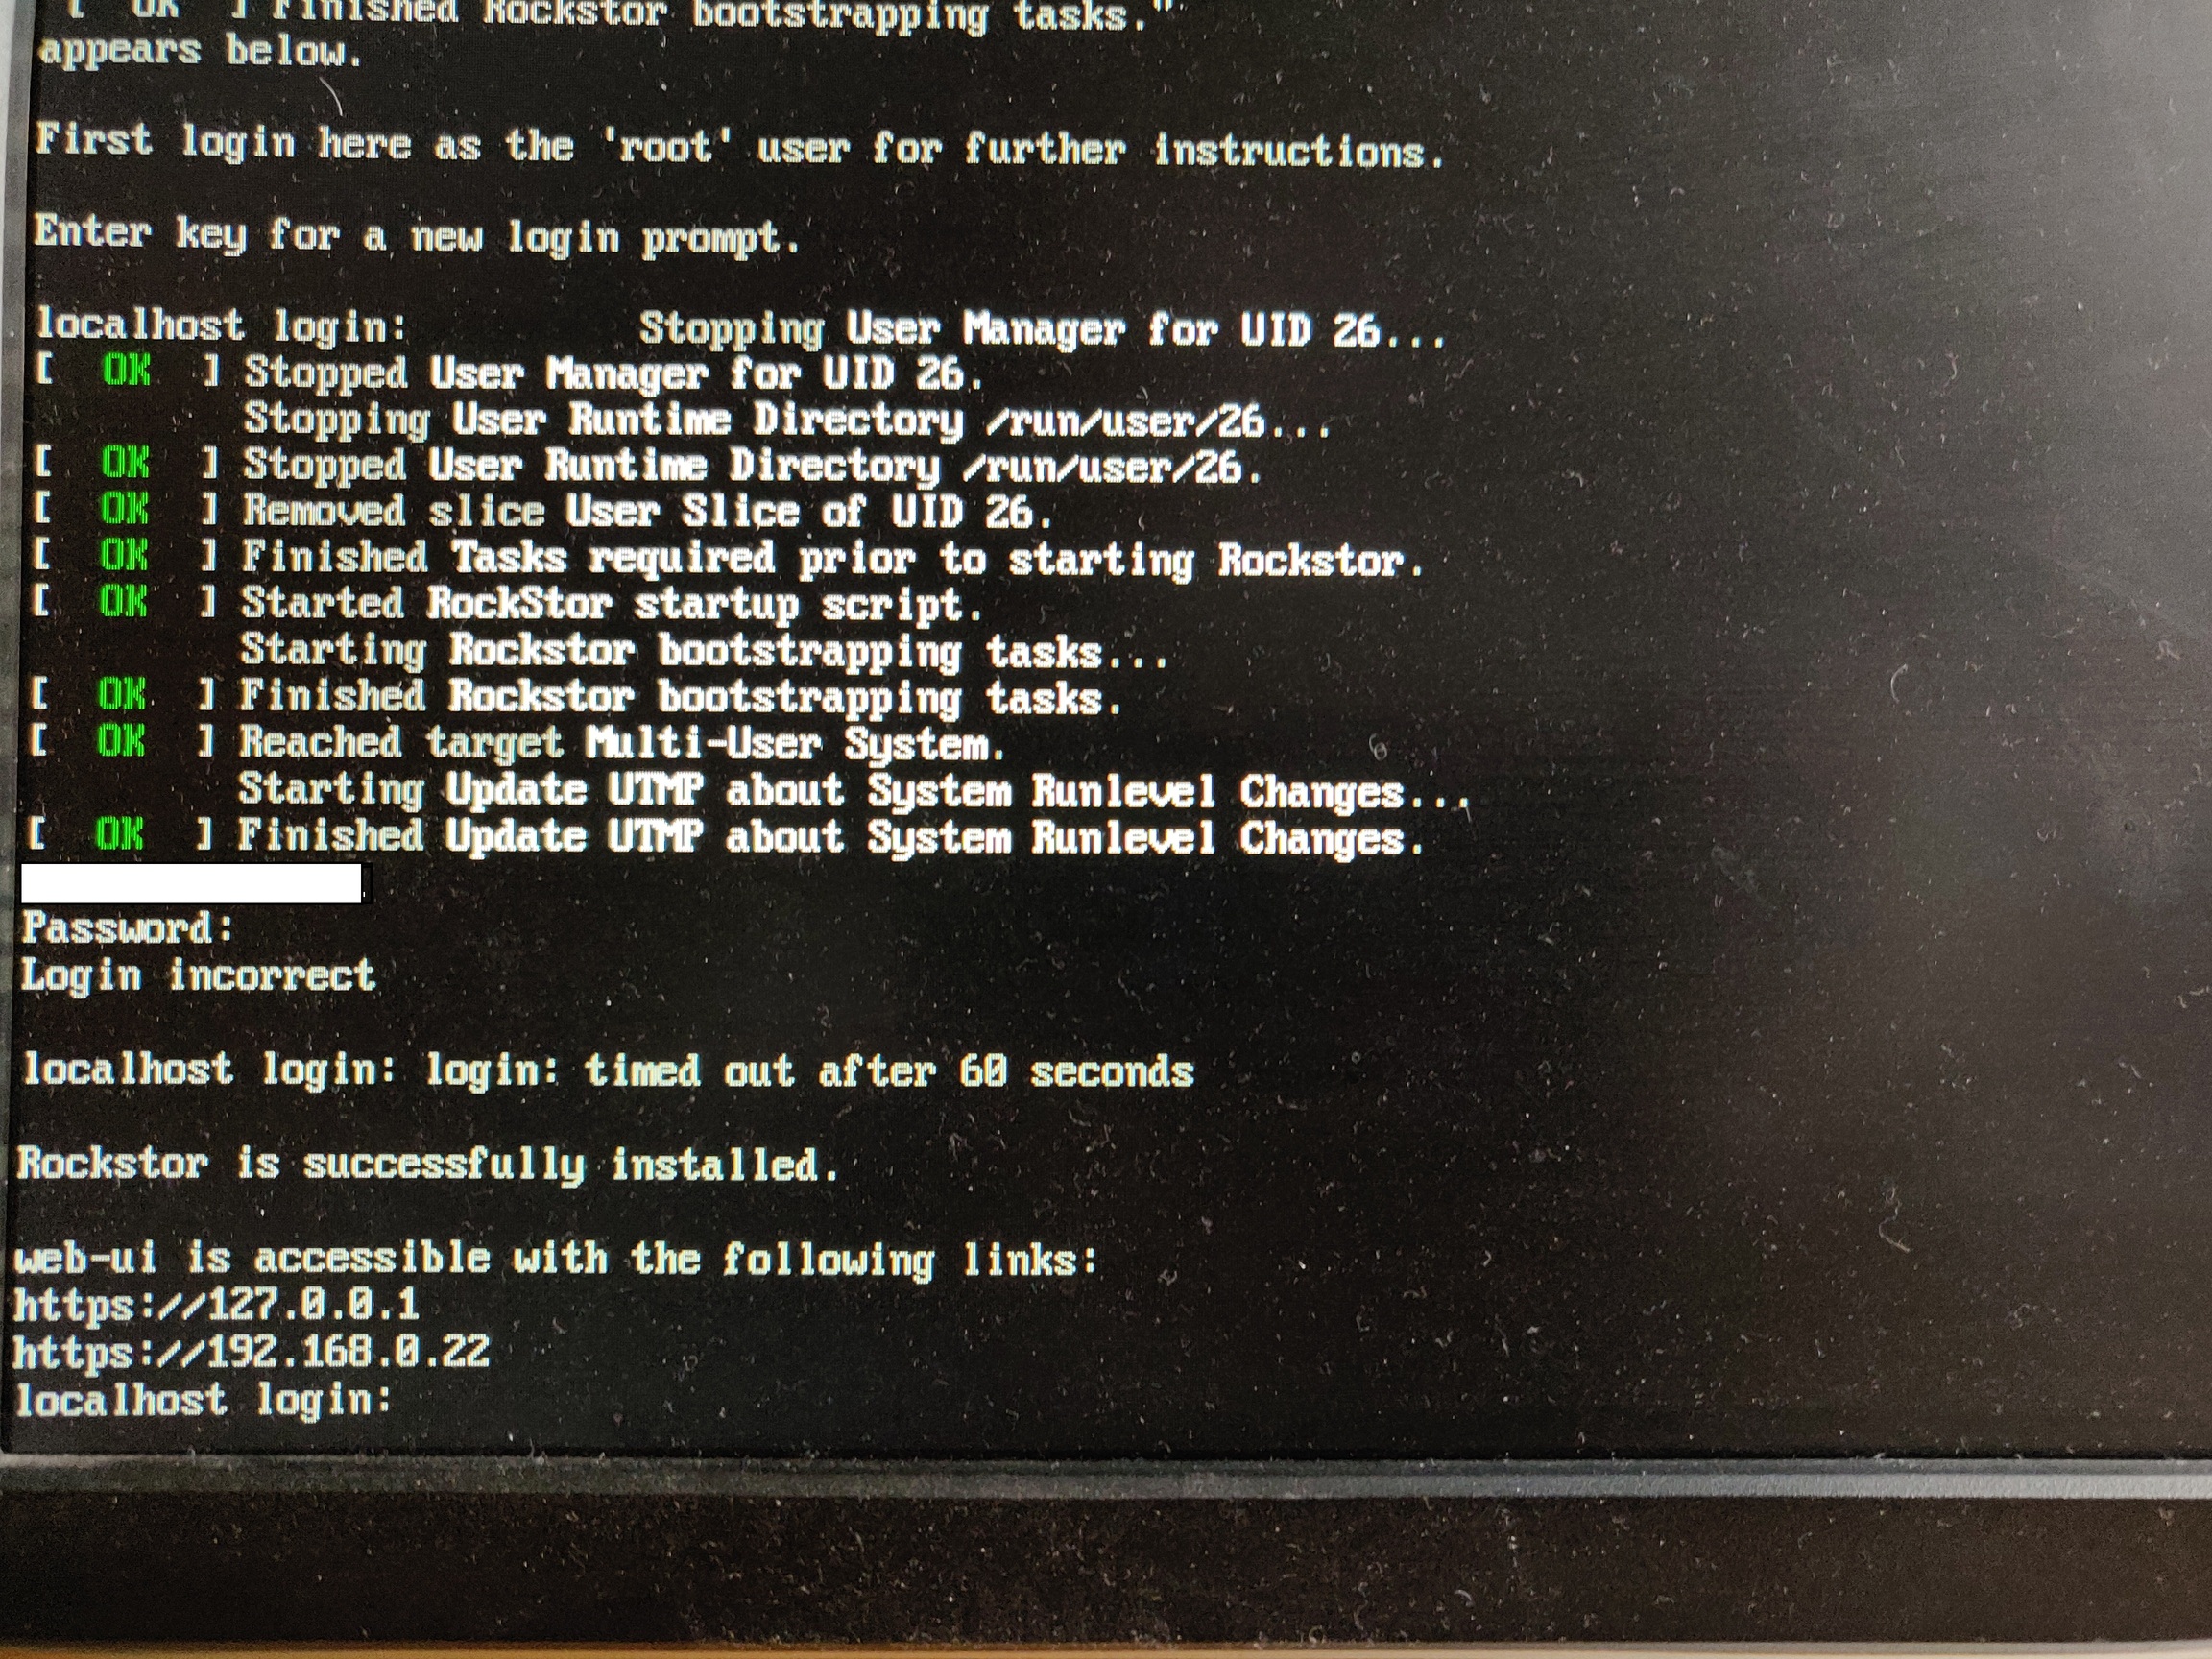
This is likely a ‘step’ too far currently. A re-install will allow you to set a new root as it’s an entirely new system. And for now you should probably stick to the basics.

The permission situation will likely be identical, but you will have the root pass and will know more about your system and know how to re-install. The myip only gives you the access IP. But you must be aware of the root pass and just take a note of it.

Or as suggested go through the delete Pool, then wipe disks steps as you also then pick-up on that procedure. That is likely more valuable than a repeat of the install.

All good, and hope it goes well. Again follow along with the text in the installer how-to as that has some explanation for each step:
https://rockstor.com/docs/installation/installer-howto.html

Hope that helps.

2 Likes

Step 1
Reset the root password and see how that effects the installation, check the “myip” “ip a” etc.
Documentation for How-tos & Guides— Resetting root password does not reflect the reality.

In a post on 8th Dec @phillxnet linked to an article that is totally different to the documents version, but was the same as the reality.

@phillxnet had also offered this link Rockstor’s “Built on openSUSE” installer — Rockstor documentation but I had already started the reinstall and didn’t see it until later.

So The resetting of the Root Password was a no show. Is realigning the docs with reality a job in hand?

*Step 2 Reinstall Rockstore v4 os only, import the pool and shares to see if the permissions situation has been solved.

Completed very smoothly, with one exception: The splash screen (GNU Grub 2.04 selection screen) doesn’t have the look and feel of the GUI initial start up screen which is World Class (IMHO) and the ”Failsafe” option doesn’t seem to do anything different to the other options, scripts whizz by very quickly so could be doing background “stuff”

The scripts stop on a message waiting for a root logon which stumped me, typed in some regularly used usernames but no dice and the log in timed out and listed the ip address anyway.

What was the point of the login?

Belatedly in a moment of reflection, the script was just asking for the Password entered earlier without a log in name which was the bit that threw a spanner in the works, as logins usually are a two stage process, Login Name followed by Password.
Also discovered that the System Shell is different to the Terminal window when a monitor is connected to the NAS, as mentioned by @Flox on 16th Dec, but didn’t really register at the time.

Perhaps the text here could afford a NON Terminal user with more appropriate guidance such as:
Go to your Web browser
Type this address into the browser search box
https://XXX.XXX.X.XX (The x’s being replaced with the ip address set up by the OS.

Logged in to the web ui and imported the discs etc (Nice straight forward process)
Went back to the windows environment, could see the shares in the network “Directory/Folder” as previously but could not get around the permissions regardless of the changes made to the many windows advanced settings, change in ownership and additions/changes to user permissions.

Step 3 *Reinstall Rockstore v4, create a new pool and share to see if the permissions situation has been solved.

Reinstall the OS with new Hostname that reflected the use of the system as Family members could be accessing the NAS. It wasn’t immediately obvious that the Hostname needed to show up recognisable when users (Family members) searched for it on their devices.

Completed the deletion of Samba settings, Shares, Pool and reset/wiped the two HDD’s, reset the raid, created a Pool, Share and set a Samba Export without editing the user and group in the access control tab of the share, leaving it at “root” for both and leaving the permissions as the default.

Returned to the Win 11 and selected the network Directory/Folder, highlighted the Network label, typed in the ip address and low and behold a window popped up asking for a log in and password.

Typed in the username and password for the RockstoreNAS and the NAS share appeared.

Dragged and dropped some files which copied across without a hitch.
Elatedly set up a few more shares and commenced populating the NAS drives.
So far copied across a full range of file types, some in compressed format, all functioning fine.

So Evaluation.
What were the previous problems caused by:
Possibly the changes made in the Samba settings I.e changing the access control –owner and group from root to a named user and altering the permissions from default, (This was done for future users who might need access. We all know what thought did :slight_smile: ).

There was a share set up in the root pool but not used??.
I feel that a set of explicit instructions for newcomers when working with systems outside the Windows/Non Linux environment would be appropriate, not sure where such guidance would sit in order to catch the attention, some folk like to skim read (at best) and get into the nitty-gritty sleeves rolled up etc. So perhaps in several places as progress is made like the little notices that pop up when hovering over an icon, or at the top of an opening page when creating a new share or samba export.

Well worth considering (IMHO) because when operating correctly the Rockstor NAS is a nice piece of kit to say the least.

To finish
Many Many thanks to all for the detailed help and guidance offered over the last 2 Months (Exactly) without which I would be swimming with the sharks. Or forked out more wonga for a commercial box.
*(Just seen a second hand upgrade board and 4 core processor only a couple of years old… I wonder :face_with_monocle: *

1 Like

@Mike-B Thanks for the update.
Glad you seem to be making some headway on all this.
Re:

That is entirely in keeping with our older v3 CentOS based offering that has been around for many years now. But yes, we need the like of it for our new OS base of openSUSE. We also now have a password pincard type arrangement that can be printed off and saved. Don’t think we have any doc for that actually so that’s another doc issue for someone, unless we do have docs for it of course :).

Re:

Thanks, I think. And yes we don’t theme our grub. It can be done but it’s another non critical thing that will very likely only ever bee seen a hand-full of times. Plus it’s another package to maintain and distribute so we currently go with the un-themed upstream default as it gets the job done and lowers our maintenance load.

This is likely because the added ‘play safe’ options are in your case simply not needed. It’s primarily to allow a boot when there are issues with the default boot. Hence no difference. We don’t these options ourselves but simply inherit from upstream.

To take folks through the required root login so they know how to do it. If one can login with root one can almost always re-gain access to a system or fix stuf, or update / diagnose etc. Plus it is a critical system access. Encouraging a root login at least once fives folks a critical piece of knowledge. It also allows us to present the command line update process, which is not what even experienced linux users might think of as we use the JeOS directive of --no-recommends. And allows us to present the myip capability. That is why it’s done and documented accordingly here:

“Login as ‘roo’ user”: https://rockstor.com/docs/installation/installer-howto.html#login-as-the-root-user

That step is really important hence the encouragement to do so. It helps to inform folks of a way to access their system if for example there are network issues. It also allows the system to tell them where on the network it thinks it is: via the myip program and prompt to run it.

I’ll have another look at the text there. Currently it states:

First login here as the ‘root’ user for further instructions.

Enter key for a new login prompt.

What would be your suggestion to clarify this: in as few a words as possible to ease translation etc?
To see it again we have the step documented in the how-to:
https://rockstor.com/docs/installation/installer-howto.html#wait-for-the-rockstor-bootstrapping-tasks

OK, I put in url as folks can look that up to know what it is. And I had assumed most would know what that is. It’s nothing to do with a terminal user but is a universal reference for an address format used globally on the internet. I think your suggestion is good though. But we do want folks to login as the root user to ‘get’ that bit in case of any issues. Plus in some instances there is only the 127 address which is useless anyway. Our myip program is a better options actually. Food for thought.

Nice.

I wonder if you used the same username during the Web-UI setup as you have on your windows box, that may have caused windows (with it’s ways) to not ask for the credentials and use the one it had. As stated it’s no good to use the root user for anything that doesn’t require it but this is your first outing in any NAS setup I’m guessing and user / rights / permissions is a big hurdle in this whole arena. Especially when you get to things like group access and the like. But getting you are definitely getting there. I’d suggest playing with creating a user on the Rockstor machine and a share that is only accessible by that user via samba. All useful stuff and may help to fill in some blank areas and if you are game give your usual feedback on where your docs fall short. All good stuff.

Yes, that is the ‘home’ one I mentioned previously. Take a look at what I mentioned about that before. It’s kind of a legacy / potentially required/expected by some users. We are in a transition phase where our prime directive was to not alienate our prior CenOS based v3 offering and make stuff as similar as possible to what it was before. That way we create as few blockers as possible to migrate our existing users over as easily as possible. Plus it’s a pain to re-learn stuff and have to re-run-into all the little corner cases that crop up with each re-do of a thing.

Definitely and we have started on this. There are contextual doc links for example in the Software Update section and @Flox recently added a ‘help icon’ in a recent Rock-on config area that also links to the docs.

@Flox I can’t find our issue that covers this proposed feature to be applied across the board. Let me know if you find it. I’ll clear out some older issues soon as many relate to our now depricated CentOS variant anyway. And now we are about to release the first stable release in v4 it’s probably time.

Thanks again for all the feedback. We are DIY and have only a small team so docs are often second place but we try hard to make them accessible. A beginners eye is all the more valuable in this regard. And I believe @Flox is planning a client write-up re-vamp so that will be nice. Maybe you would be game to do a pull request review if it comes to that. Always nice to have more input on such things. Especially if they are the target audience.

2 Likes

@phillxnet Thanks for the tips and update. Several Points noted and I understand the difficulties of setting up and operating guidance systems to suit many parties.
Would welcome any involvement as suggested just email me.
Mike

3 Likes

I think the confusion is caused because although the system does ask for the user name, it is still running background scrips which continue to report to the console, thus making it look like only the password section appears for input. If you look at your previous screenshot you can see that.
My advice is to wait a while for all the script output to console to finish. IIRC the UTMP output is the last of those. The final entry in your screenshot is localhost Login, thats where you type root and then the password you entered during setup.

3 Likes

The “ROOT” pool with it’s “home” share was a bit confusing to me (actually, it kinda still is). Could the UI be modified such that people could select an option to hide them from normal view?

1 Like

Good idea @ktraglin
In my mind, a basic (Default) view wouldn’t show the automated “home” share unless an advanced option was selected for those that like to see the full nitty-grity.

1 Like

It seems I never got to open a proper issue dedicated to that but yes we did agree on adding these links to relevant sections of our documentation across the board. I think I remember that we would add these links progressively when working on various areas of the webUI but maybe we could reconsider this approach and do a “one time” addition across the webUI…

@Mike-B, @phillxnet is indeed correct: I’m currently working on developing the sections of our docs on how to access shares on Rockstor using Samba, NFS, and SFTP (the latter is already well documented, whereas the other two need a bit of harmonization). I should hopefully be done soon with that soon but in the meantime you can follow the related issue below if you’d like:
https://github.com/rockstor/rockstor-doc/issues/110

2 Likes

Thanks for the update, all very good news.
Should you find a requirement for proof reading I would be honoured, nothing to do with content, just croosing the eyes a dotting the t’s :slight_smile: the usual typos.

3 Likes

I find the easiest way to access the NAS from Windows (10) is something like this:

  1. Enable SMB 1.0/CIFS
    • Search for features from the start menu
      Features
  2. Fix the IP address of the NAS to for example 192.168.1.80 - how to do this depends on your router.
  3. Give a name to the IP address in the hosts file
    • Edit “C:\Windows\System32\drivers\etc\hosts” - you need elevation to save this file
    • Add a line like 192.168.1.80 nasName
  4. Access the NAS shares from File Explorer (or anywhere else) as \\nasName\share
2 Likes

@ajk Many thanks for your input, that is how I accessed the NAS, it wasn’t until i reinstalled and reset the shares and Samba settings etc to the default settings that a connection was made.
It’s all working fine at the moment, populated the shares, rearranged most of them providing separate shares for each category (Movies, TV etc, good practice for cloning) and renaming the shares from the windows environment through the network. Very nice, smooth and clever.

2 Likes

For reference and as mentioned above, the Samba docs have now been updated to include further instructions and details on how to configure the service, export shares, and access those shares from Linux, Windows, and macOS clients. Please see below for those interested:
https://rockstor.com/docs/interface/storage/file_sharing/samba_ops.html

Thanks a lot, @ajk for detailing this approach, it’s definitely something needed in some cases so thank you for taking the time to share these instructions!
I feel obligated to nonetheless caution our users that, to the best of my knowledge, the SMB1 protocol has been turned OFF by default in Windows 10 for security purposes, which means that turning it back on does have some security implications. I would thus personally recommend users who have issues with accessing Samba exports from Windows to try our relevant instructions from our documentation first (https://rockstor.com/docs/interface/storage/file_sharing/samba_ops.html#from-windows). The Samba project has been working on deprecating SMB1 for a couple years now so it might not be able to use it for much longer, for instance (see Samba 4.11 release notes).

Hope this helps!

3 Likes

@Mike-B Hello again, and well done for persevering through these tricky early stages.

I just wanted to round out the following:

On Dec 14th we have:

@Hooverdan’s Rock-on was then finally reviewed/revised and merged; then published to production later the same day:

It hasn’t been mentioned here yet as it wasn’t critical to your endeavours but I wanted to make it known in this thread that we do now have this service available for others reading this rather useful thread.

Thanks, that would be great. @Flox’s:

Is nigh on a re-write of what we had. This was published a couple of days ago as the pre-publish proof read involves some GitHub knowledge. I did the honours on that one via the review process within GitHub. However if you get the time, and fancy the journey, it would be good if you could take a look as it details a more ‘proper’ way to access shares that enables the use of different users for potentially different share access. It would be good to have your input on this given your diligence to date on reporting doc issues. And your new angle take of course. Try running through @Flox’s instructions with a test share and associated export to see if it makes sense to you.

Thanks again for you input and patience on these issues. NAS has long been a tricky business across the board and we want to make it as easy as possible without having everything accessible to all on the network. So there will always be some knowledge required but good docs with sensible defaults goes a long way to getting folks off on the right foot.

Hope that helps.

2 Likes

I’m onto the task, having problems with our wifi, waiting for the VM tech to visit. I’ll annotate a text doc and find a way to return it in a couple of days.

2 Likes

This is a long thread and I apologize if this question was already answered. I’m running 4.0.9 and the Rockstor server is named “rockstor”. My Windows machines access the SMB shares using the machine name; i.e., \\rockstor\documents or \\rockstor\music. - I don’t need to use the IP address. Our ipad and iphone have use to use “.local” as a domain - \\rockstor.local\[sharename] (apparently Apple has a bug - horrid little machines really) but again, the IP is not needed.

The hostname isn’t listed in Windows “Network” in file explorer and that is a Windows 10 & 11 issue but doesn’t bother me (not much, anyway).

So I’m curious as to what the issue is for others forcing them to use the IP with Windows?

1 Like

HI @wdc
Probably due to my ability to get most things incorrect from the off. If I had stuck to the defaults set out when setting shares and samba exports, I would have probably not encountered the issues I did.
Basically, I could not see the Shares/Folders on the NAS in W11 File Explorer in order to populate the shares. I was also at a disadvantage as the language was a barrier due to my lack of Linux knowledge.
One might ask the question, then why engage with the project, well the answer to that is probably because I had the hardware and reviews I trust (Techradar) were good so I have given it a go with a lot of help from @Flox, @Hooverdan, @phillxnet and @GeoffA .
Hope this answers your query.
PS
The USB part of the title is there as originally I thought I would just stuff a USB external hard drive into the box socket and hey presto the files would show up and I would be able to drag and drop across the the shares just like any other Window experience. Well why wouldn’t I?? :blush:

1 Like

@wdc, I believe, using the machine name works in some or possibly most cases (it never did for me, btw), when you type it in directly, but not always, depending a bit on the network setup, so using the IP address is probably the most fool proof way to get the connection to the SMB shares, independent on whether the network/subnet or other settings have been mucked with.

4 Likes

No worries, the more feedback the better!
@Hooverdan’s belief is actually spot-on: using the IP address is the most “universal” way for us to write documentation as not all networks would necessarily have functioning name resolution. It also helps removing “another layer” or potential problems so it’s a lot more useful when troubleshooting a connection issue.
Using hostnames like you do has its own advantages but I wasn’t sure how to integrate that part in our documentation while keeping as “universal” (read: works in all cases) as possible. I always struggle with finding the right balance between providing as much information as possible and keeping the content as friendly as possible for a reader who may not be familiar with the relevant concept of the given documentation.

Reading your feedback, I now wonder if we should add a note mentioning that hostname can replace the ip address in that section of the documentation for those who have name resolution working…

I believe you are describing exactly the issue that the web services discovery daemon intends to fix. Thankfully, @Hooverdan added a Rock-on that was recently merged by @phillxnet to add that feature to Rockstor. It could be worth a look for you if you’re interested.
Note that this also started a discussion on integrating this to Rockstor itself so we wouldn’t need a separate Rock-on, so feel free to chime in there (https://github.com/rockstor/rockstor-core/issues/2322) if you’d like (even if it’s just to say that you think it’s a good/bad idea).

Hope this helps,

3 Likes

@Mike-B - you are not alone. Oh so very much not alone!

@Hooverdan and @flox - I will look into that. FWIW, I’ve noticed that some of my Win10 machines list the server and others don’t; it may be a combination of the Win10 bug and where they lie in relation to my Netgear router & TPLink switch (netbios over tcp may be fine on the router and it’s ethernet ports but not make it over to the wireless machines, nor past the TPLink. The former seems a reasonable hypothesis, the latter seems wrong. In any case, the discovery daemon would seem to be a logical solution.

2 Likes

Thanks for the feedback @wdc
Happy New Year.

1 Like